


SHEMAX BIOSTOP PRO USER MANUAL
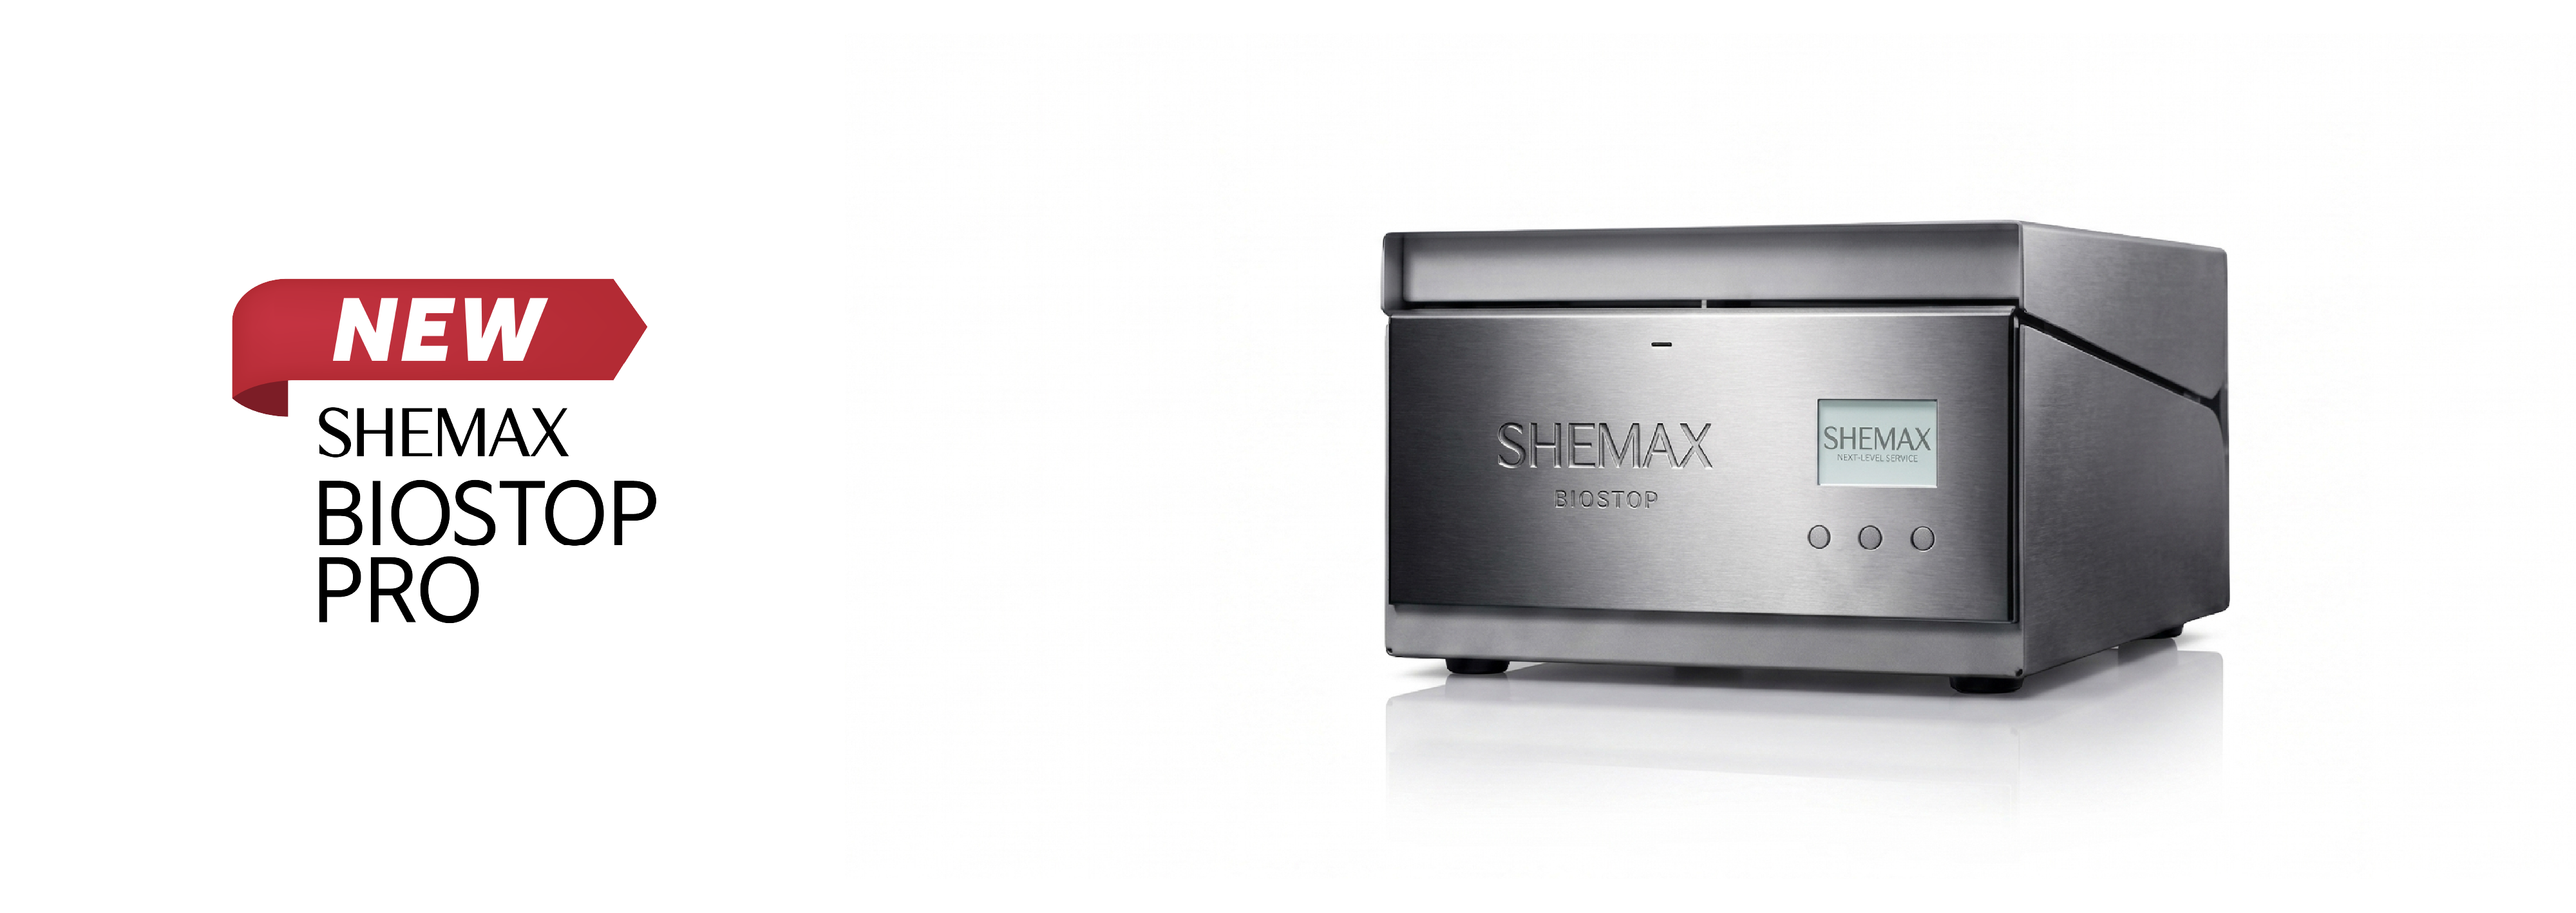
USER MANUAL SHEMAX BIOSTOP PRO
Dear customer! Thank you for choosing the dry heat sterilizer SHEMAX BIOSTOP PRO. This device was created for professionals who care about themselves, their clients, and high standards of sterility.
Before using the device, please read this manual carefully and keep it for future reference.
With care, the SHEMAX team.
TABLE OF CONTENTS
- Package Contents
- Symbols and Signs
- Device Overview
- Intended Use
- Warnings and Safety Rules
- Device Description
- Preparation for Work
- Usage
- Cleaning and Maintenance
- Troubleshooting
- Disposal
- Technical Specifications
- Warranty and Service
1. Package Contents
- Dry heat sterilizer SHEMAX BIOSTOP PRO — 1 pc.
- Power cable — 1 pc.
- Kraft bag holders — 2 pcs.
- Instrument tray — 1 pc.
- Tray hooks — 2 pcs.
- Emergency lid release key — 1 pc.
- Technical passport — 1 pc.
ATTENTION! Check the completeness of the package upon unpacking the product.
2. Symbols and Signs
- ⚠ Warning / Caution
- ⏚ Protective Earth (Ground)
- Read the instructions before use
3. Device Overview
The dry heat sterilizer SHEMAX BIOSTOP PRO is designed for sterilizing metal instruments with hot dry air and drying instruments after washing.
4. Intended Use
The device is used for:
- sterilization of metal instruments;
- drying instruments after washing and disinfection.
Operating Modes
| Mode | Temperature | Time |
|---|---|---|
| Drying | 80°C | 30 min |
| Sterilization | 160°C | 150 min |
| Sterilization | 180°C | 60 min |
| Sterilization | 200°C | 30 min |
Storage of Instruments
Sterile instruments in kraft bags are stored according to the period specified by the packaging manufacturer. Instruments without packaging are recommended to be used immediately or stored in a UV cabinet.
5. Warnings and Safety Rules
WARNING! It is prohibited to:
- open the lid during operation;
- touch hot surfaces;
- use liquids inside the chamber;
- sterilize materials not intended for high temperatures;
- perform self-repair of the device.
Use grounded power outlets only.
IMPORTANT:
- The sterilizer must be installed on a flat, solid horizontal surface.
- Do not install the device in cabinets, niches, or other enclosed spaces.
- The minimum distance from the lid and side surfaces to surrounding objects must be at least 30 cm.
- There should be no objects under the sterilizer that could block the airflow needed to cool the body interior.
6. Device Description
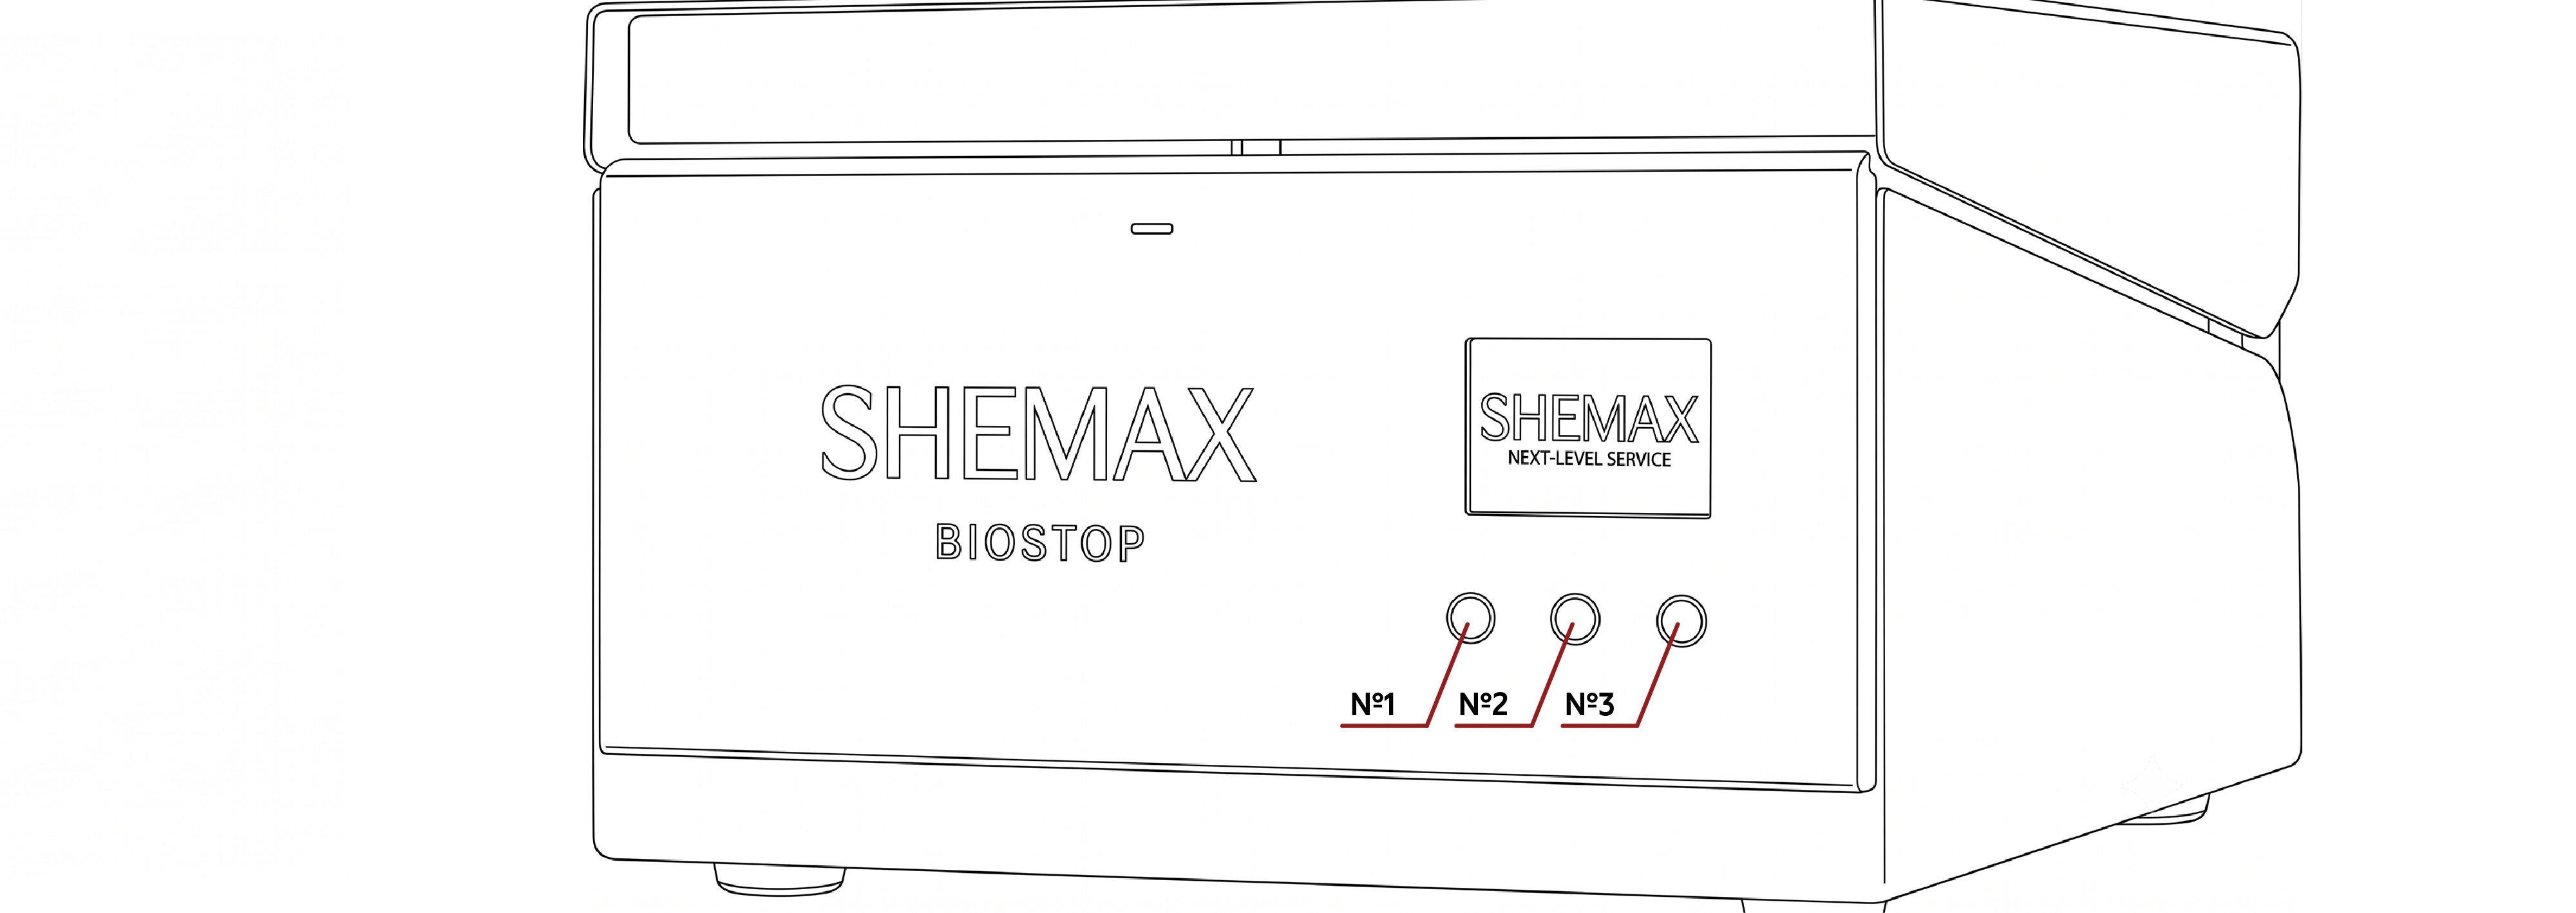
Main structural elements:
- metal body;
- lid with thermal insulation and lock;
- stainless steel sterilization chamber;
- heating element (heating tube) provides air heating in the chamber;
- forced air circulation fan;
- electronics cooling system (3 cooling fans);
- control panel with display;
- temperature sensor;
- power cable.
Please note: Every product undergoes a full test cycle of all components before packaging and shipping. As a result of heating the element, its surface color may change, which does not affect reliability and only confirms that it was tested and ready to work.
Emergency Lid Release
In case of power failure or failure of the electric lock, use the included emergency key to open the lid. Insert the key into the emergency release hole and move it horizontally from right to left.
7. Preparation for Work
- Unpack the device.
- Check the completeness of the package.
- If the device was transported in below-zero temperatures, leave it at room temperature for at least 4 hours.
- Place the sterilizer on a flat surface.
- Ensure that the power outlet has proper grounding before connecting the device.
- Connect the power cable to the device and mains power supply.
8. Usage
Language and Temperature Unit Settings
The sterilizer features interface language selection as well as temperature display units (°C or °F).
To adjust parameters:
- Before starting a cycle (when in main menu), press and hold Button #2 for 10 seconds to enter language selection menu.
- Press Button #2 briefly to scroll through available languages.
- When desired language is highlighted, press Button #1 to confirm.
- Select temperature unit (°C or °F) using Button #2 and press Button #1 to save settings.
⚠ Important: If no button is pressed within 10 seconds in settings menu, system returns to main menu without saving changes.
Loading Instruments
In Kraft bags:
- place instruments into kraft bags;
- seal bags;
- place them into chamber holders (capacity: 5 bags 100 × 200 mm).
Without Kraft bags:
- remove holders;
- use included tray;
- arrange instruments evenly with spacing between them.
Cycle Launch
- Close the lid.
- Turn on device using power switch on back panel.
- Select mode using Button #2.
- Start cycle with Button #1.
Cycle Completion
Upon completion: heating stops, cooling begins, and display shows current temperature. At ~50°C sound signal sounds and electric lock unlocks lid automatically.
9. Cleaning and Maintenance
- Disconnect device from mains power supply before cleaning.
- Sanitize inner chamber every 200 operating hours using 1% chloramine solution.
- Do not allow moisture on display, control buttons, heating element, or power switch.
10. Troubleshooting
Device does not turn on
Check the 5A fuse located next to power switch and 0.25A fuse located at the bottom of the body.
Other malfunctions: Contact SHEMAX authorized service center.
11. Disposal
Do not dispose of device with household waste. Deliver equipment to designated electronic waste recycling facility.
12. Technical Specifications
| Supply Voltage | 220 V ±10% |
| Frequency | 50–60 Hz |
| Current Consumption | up to 4 A |
| Max Power | 800 W |
| Device Dimensions | 300 × 215 × 410 mm |
| Chamber Dimensions | 205 × 105 × 227 mm |
| Capacity | 5 kraft bags 100 × 200 mm |
| Weight | 12.6 kg |
13. Warranty and Service
The dry heat sterilizer SHEMAX BIOSTOP PRO is covered by official warranty for 12 months from the date of purchase.